The four essential steps for seamless installation of hanging wall and base kitchen cabinets are explained below:
You’ll need the following materials and tools for this DIY installation task. It will take approximately 2+ days from start to finish.
Materials
- Wood shims
- Ready-to-assemble kitchen cabinets
- 1×2 Ledger board
- 2-1/2″ Screws
Tools
- Tape measure
- Pencil
- Clamps
- Screw gun
- 4-inch level
- Stud finder
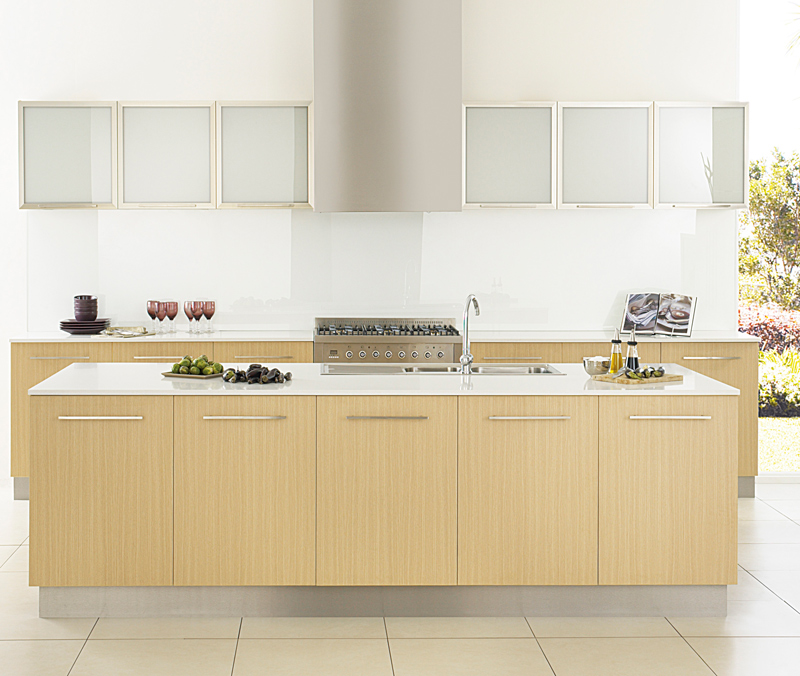
Step 1 – Measure the Wall and Mark Fittingly
- Most of the standard cabinets is 34-1/2” high. However, measure the height of the base cabinets. Add another 1-1/2” for a standard countertop and 18 inches for a standard backsplash.
- With an 18-inch backsplash, the total measurement should be 54 inches – when measured from the floor to the bottom of the upper cabinets. In case, your floor is not level, ensure to measure from the uppermost point along the wall.
- Now, draw a parallel line across the wall at this 54-inch point that will serve as a guide for hanging the cabinets.
- Be certain to make use of a level to ensure this line is precisely horizontal. To find the wall studs, make use of a stud finder. For appropriately supporting cabinet’s weight, the wall studs are crucial.
Please note: Watch out for all electrical wiring and plumbing work very carefully.
Step 2 – Secure Ledger (support) Board
- For temporarily supporting the weight of the cabinets during the installation process, you should secure a ledger (support) board to the wall, screwing it into the marked studs.
- Ensure the doors and hardware is taken out from the cabinets so that they are light in weight and handy to install.
Step 3 – It’s Time to Hang the Wall Cabinets
Attach, as many cabinets together that you can safely lift and install on the ledge board – generally, two are possible.
- Using clamps fasten the stiles of the cabinets together (the perpendicular pieces on the cabinet frame’s face) and scrutinize if it’s perfect, ensuring the cabinets’ front is level.
- Now, pre-drill and attach the two cabinets, one at the stile with the screws. Attach one screw on the top and one at the bottom on the front as well as on the back where the two cabinets connect.
- Lift the cabinets onto the ledger board, and inspect if it’s perfectly perpendicular and level. If need be, shim the cabinets.
- After you have shimmed for level and plumb, fasten the cabinets into the wall at the studs. Ensure to pre-drill and attach the screws through the thicker framing piece by the side of cabinets’ top.
- As you’re fastening the cabinets, inspect for level and plumb. Follow this process for all the other wall cabinets.
- If any space or gap exists between the wall and the very last cabinet, make use of a filler bar that is provided by the manufacturer to cover the gap. Prior to fastening the last cabinet, measure, mark, cut and fasten this piece to the side of the last cabinet.
- Now that kitchen cabinet is in its place, you can fix the hardware and kitchen cabinet doors. When you’re done with installing the wall cabinets, take out the ledger board.
Step 4 – Installing Base Cabinets
Suppose the floor isn’t level, locate the uppermost point in the floor by the side of the wall where the cabinets will be installed. It’s recommended to begin the base cabinet installation as near to this uppermost point as possible – that’s because it is simpler to shim underneath the cabinets on the lower spots to make them level with this first one, instead of beginning from the lowest point and needing to trim the bottoms of the cabinets whilst working uphill.
Take the measuring tape and measure base cabinets and using a pencil and level, mark a level line on the wall from the uppermost point in the floor to the cabinet height. To ensure this line will be precise horizontal (i.e. parallel), make sure to use a level. Here is the installation procedure that needs to be followed:
- In order to find out and mark the studs alongside this line around the room, make use of the stud finder.
- Take the first cabinet to dry fit into place and inspect for level throughout the top. If required, shim till it is level.
- Next, pre-drill all the way through the top framing piece into the wall studs and fasten the cabinet into place with the help of screws. After fastening the cabinet, recheck level.
- Follow this process for all the other base cabinets. Once all of your cabinets have been successfully installed and in place, you can fix hardware and kitchen cabinet doors.
Voila, your wall and base kitchen cabinets are ready!
You can also call an expert team of Paradise Kitchens, for custom kitchen design & kitchen installation in Sydney and you’re guaranteed to receive the best workmanship!

 Specials